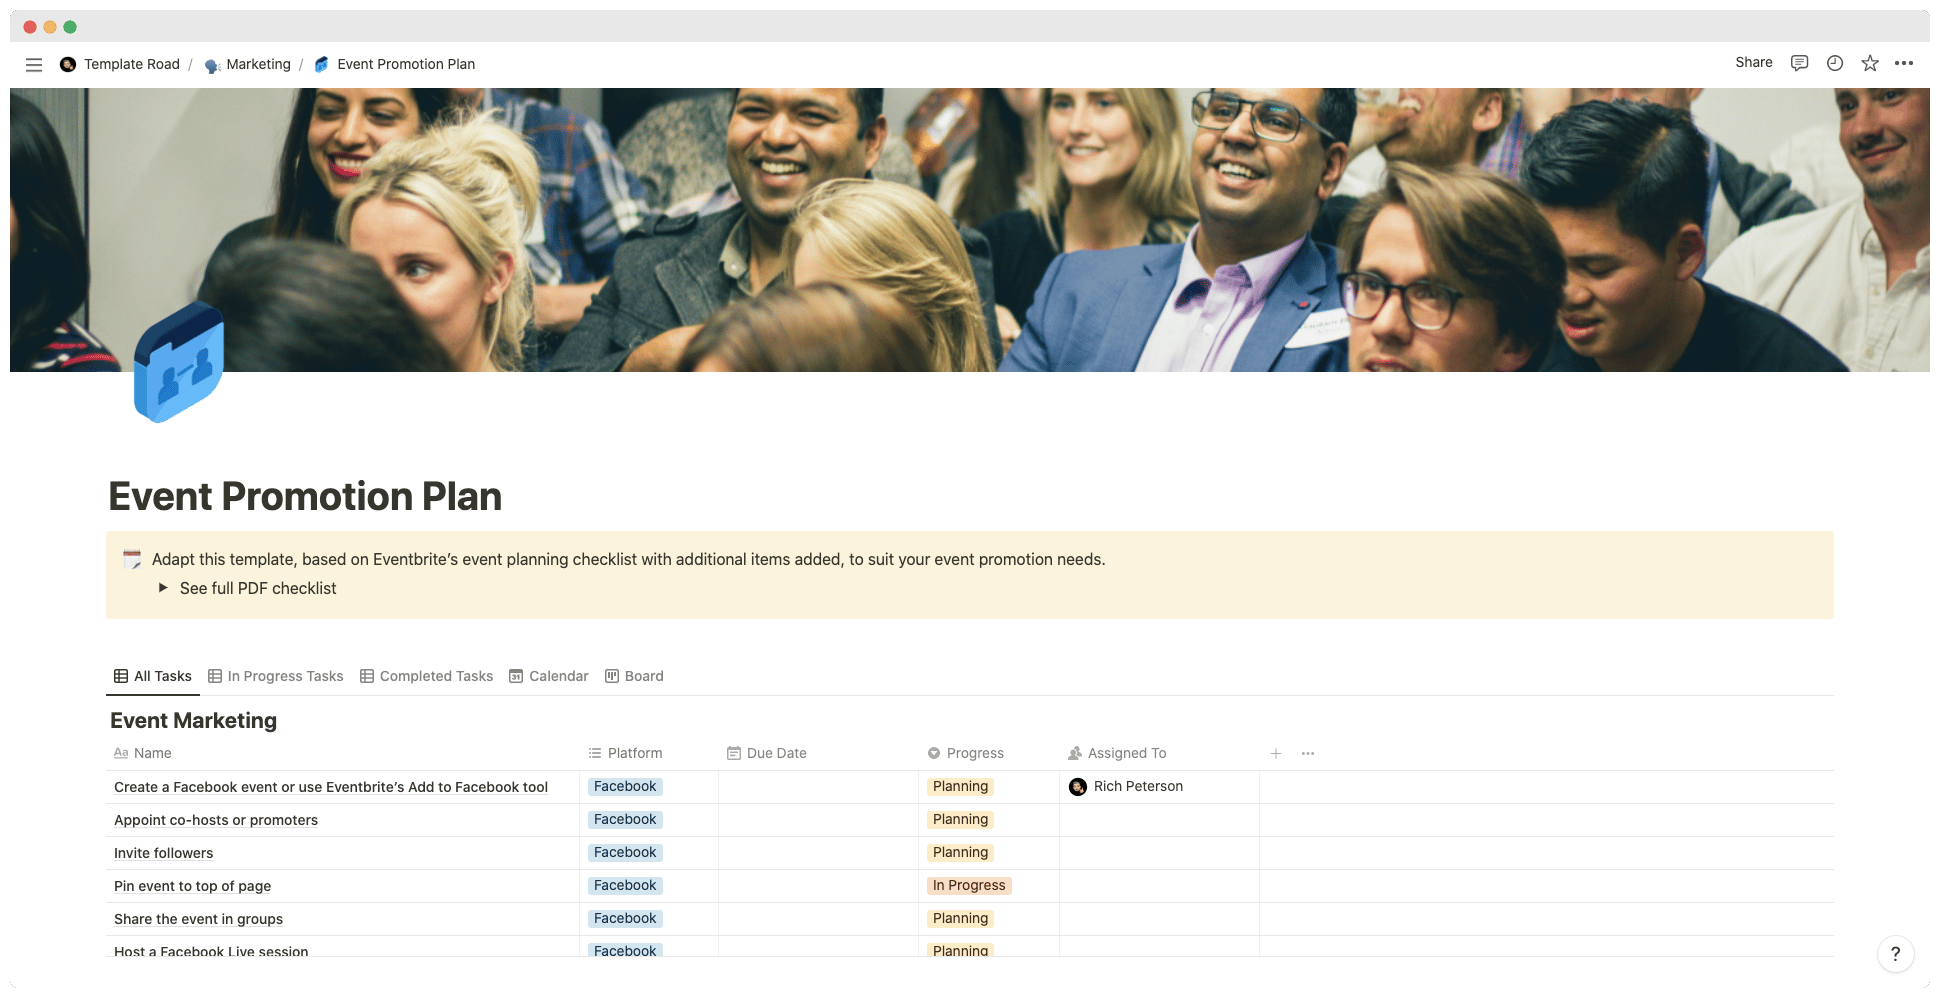
This template is perfect for promoting your upcoming event.
Buy on
Contents
Notion – Event Promotion Plan Template
This template is perfect for promoting your upcoming event. To plan and manage a truly successful event, you’ll want to attract an ideal audience with tailored promotions in the right place at the right time. Without a way to coordinate outreach and promotions, channels can overlap, deadlines slip, and potential attendees disengage. By using a tool like our event promotion plan template, teams can plan and manage promotions in one place alongside their overall event to drive attendance goals.
How to successfully promote an upcoming event online
The best way to get your message out there is through social media, and the easiest place to start promoting your event is on Facebook.
Facebook has over 1 billion users worldwide and it’s a great platform for reaching people who are interested in what you have to offer.
You can also use other platforms like Instagram or Twitter to reach more of your target audience.
For this example, we will be using Facebook as our main platform but feel free to adapt these steps to fit your needs.
Step 1: Create Your Event Page
To begin with, you need to create an event page which will serve as your main hub for all things related to your event. This includes information about your event such as date, time, location, ticket price, etc.
- Once you have created your event page, you should add some images that represent your event well. These images could include anything from flyers to posters. Make sure they are high quality so that they look good when shared across different platforms. If you want to make your event stand out even further, you can add some interesting facts about the event itself.
- Add links to relevant articles or videos that relate to your topic.
- Make sure to keep your content short and concise
- Your goal here is to grab attention and entice people to attend your event
- It’s important to remember that not everyone will see your posts and that it takes time for them to appear in their newsfeed
- So if you post something too early, it may go unnoticed by potential attendees
- It’s better to leave it up until the last minute before your event starts
- When creating your event page, don’t forget to tag yourself!
- This helps others find your event page easily
Step 2: Share Your Event On Social Media
Now that you have set up your event page, it’s time to share it on social media. There are many ways to do this, but I recommend starting with Facebook first.
There are two types of posts you can create:
- Posts
- Events
A post is just like any other status update on Facebook.
You simply write whatever you want to say and then click “post”.
An event is similar to a party where you invite friends to come along.
In order to create an event, you must select “create an event” under the “events” tab.
After selecting “create an event”, you will be asked to enter a name for your event.
After entering the name, you will be prompted to choose a category.
Choose one that matches your event type (e.g. concert).
Next, you will be given options to choose from.
Here, you can select how long you would like your event to run for.
Selecting the duration will help you decide whether to advertise your event during certain times or days of the week.
As mentioned earlier, you can promote your event using multiple platforms.
Facebook is a great place to start because it has the largest user base.
But there are plenty of other platforms you can try out. Instagram is another popular option. Twitter is another platform that works well for events. LinkedIn is also a great way to get the word out about your event. And finally, YouTube is a great place to host videos related to your event. You can use these videos to explain your topic or show off some cool visuals.
——————————————-
What you need before purchase
- Basic knowledge of how to use Notion
- Paid Notion account if you’ve looking to add lots of content to your template / Notion account (sign up here). Not much content? You’re able to use their free account.
——————————————-
After purchase
After purchase you’ll be able to view the template immediately. The template can added to your Notion account by:
- Click on the template download link in Gumroad
- When viewing the Notion template, click on the “Duplicate” link in the top-right of your screen
- The template will now be available in your own Notion account
For ongoing use, the steps are:
- Login to Notion and select the template you want to view
- Click on the Duplicate link in the top-right of your screen to create a copy to use
- You’ll be able to retain the Notion template and work on the Duplicate (with a new name) and can repeat this process whenever you want to use the template again


