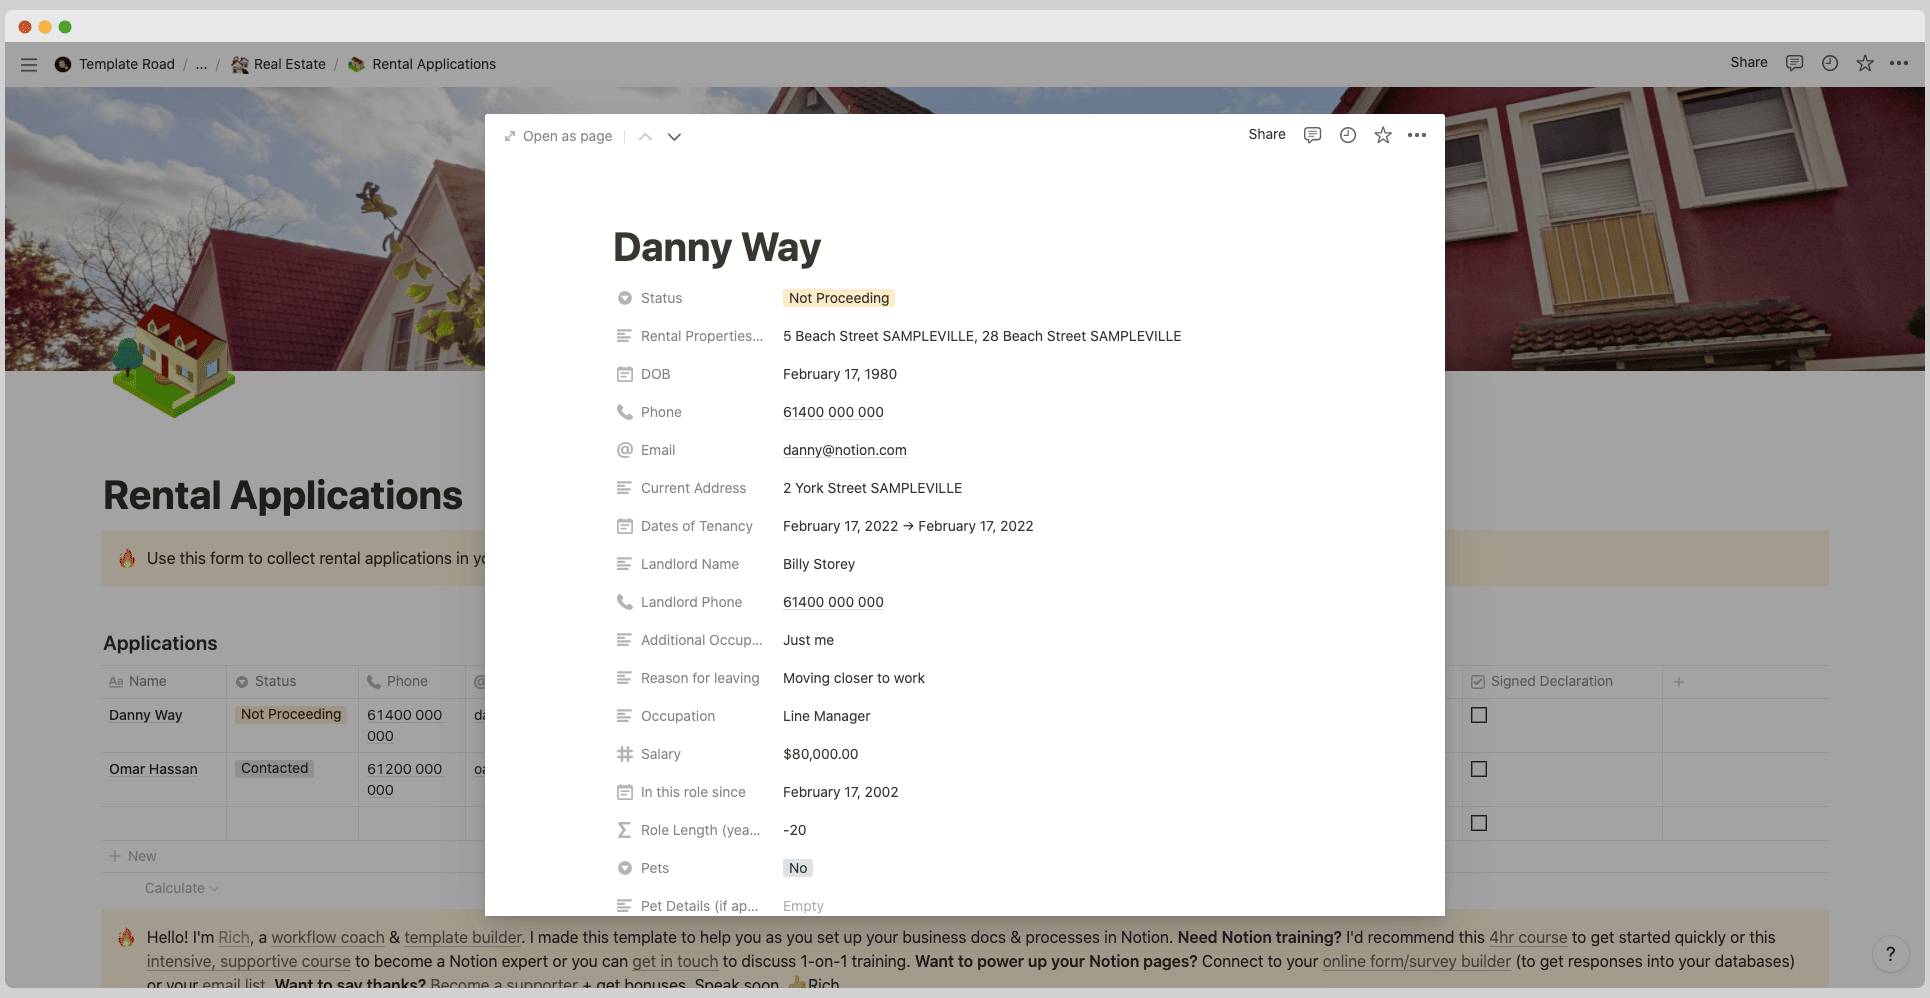
Use this Notion Rental Applications template, connected to an online form, to have real estate rental applications auto-updated in Notion.
Notion – Rental Applications Template
Want to manage your real estate rental applications in Notion? Use this Notion Rental Applications template, connected to an online form, to have real estate rental applications auto-updated in Notion.
——————————————-
What you need before purchase
- Basic knowledge of how to use Notion
- Paid Notion account if you’ve looking to add lots of content to your template / Notion account (sign up here). Not much content? You’re able to use their free account.
——————————————-
After purchase
After purchase you’ll be able to view the template immediately. The template can added to your Notion account by:
- Click on the template download link in Gumroad
- When viewing the Notion template, click on the “Duplicate” link in the top-right of your screen
- The template will now be available in your own Notion account
For ongoing use, the steps are:
- Login to Notion and select the template you want to view
- Click on the Duplicate link in the top-right of your screen to create a copy to use
- You’ll be able to retain the Notion template and work on the Duplicate (with a new name) and can repeat this process whenever you want to use the template again
How to handle rental applications in Notion
The first step of getting a rental property occupied under your management is to successfully complete the application process.
There are many different steps involved in managing a rental application, but there isn’t a perfect system that can be used in every situation without exception.
That being said, here’s the best process we’ve found for dealing with real estate applications:
- Gather the necessary documents
- Process the application
- Check references
- Ensure that an approval is granted
- Create a tenancy agreement
- Notify the tenant of their approval and upcoming move in date
- Start tenancy 7 days before occupancy (to ensure compliance with required time frames)
- Collect first month’s rent and security deposit
- Send to tenant’s new address
1. Gather the necessary documents
The first step is to gather all of the necessary documents from the prospective tenant. Documents required could include: a rental application, a recent pay stub, a copy of their driver license or passport, a residential utility bill, and verification of their employment.
2. Process the application
After you’ve collected all necessary documentation from the tenant, it’s time to process the application. Processing an application includes: verifying that the information on the application is correct, creating a file folder with their name for future reference if any additional documents are needed, and applying any relevant application fees.
3. Check references
After you’ve processed the rental application, it’s time to check their references. Checking references includes collecting contact information for previous landlords or property managers where they have lived, employers who are listed on their application, and also checking with other individuals listed as references on their application. This will also be the time to contact any potential guarantors.
4. Ensure that an approval is granted
Hopefully after checking references, you have been able to approve the tenant. If so, congratulations! The next step is preparing a tenancy agreement and waiting for it to be signed before occupancy can occur.
5. Create a tenancy agreement
Creating a tenancy agreement should be conducted by the property manager. The tenancy agreement is not necessarily legal documentation, but will lay out the rules agreed upon between the tenant and the property owner. This document could include information such as: what utilities are included in or excluded from rent, late fees for unpaid rent, pet conditions (if any), subletting conditions, and other tenancy rules.
6. Notify the tenant of their approval and upcoming move in date
When a tenancy agreement has been signed by the tenant, it is time to notify them that they have been approved for occupancy. The property manager should provide this notification via phone or email. The final step before occupancy will be to set a move in date.
7. Start tenancy 7 days before occupancy (to ensure compliance with required time frames)
The final step of processing an application is to get the property ready for occupancy within the coming week! The tenant will want to be able to start living on their new property on their new move in date, so it is the property manager’s duty to make sure the tenant is able to start occupancy on time.
8. Collect first month’s rent and security deposit
The second-to-last step of processing an application is collecting first month’s rent and a security deposit from the tenant. A security deposit must be collected in Canadian provinces that have landlord-tenant laws.
9. Send to tenant’s new address
The final step of processing an application is sending the deposit and any additional information, such as parking permits or smoke detector batteries, to the tenant’s new address. Congratulations! The tenant has moved in and your rental application process is complete!


